During our Media
Lesson we focused on editing the footage we took on our second camera lesson,
and creating an entire sequence from those shots.
Rules:
·
The number
one rule when editing is to constantly save.
·
Make
duplicates of a shot so that you always have a back-up , in case you make an
error or delete footage.
·
It’s best
to cut when object is moving ,this makes the sequence uniform and more fluid.
·
Label all
your footage so that it is easier to find later on, it also makes it easier to
find shots of certain camera angles, such as close ups and long shots, if you
name them.
What we did:
We had all of our
footage uploaded onto Adobe Premier Pro. We were first instructed to look at
our footage, this helped in reminding us off what footage we took and also to
give some initial ideas of how to edit the footage. We then were showed how to
select a video so that we can edit it (clicking the filmstrip icon, next to the
footage name). After selecting the footage, we needed to cut it down to the
specific parts we wanted . To do so you play the clip, then press the spacebar
where you want to begin and press ‘I’ on the keyboard, this marks where your
clip will start. To end the clip, you let it play until you want to stop the
footage, at that point you press the spacebar to stop it and then ‘O’ on the
keyboard, this is where the clip will now finish. To remember whether to press
‘I’ or ‘O’ I simply remember that ‘I’ stands for ‘In’ and ‘O’ stands for ‘Out’.
After trimming the
clip, we dragged it onto the timeline (The timeline is a large rectangular
space at the bottom of the screen where the footage is placed and ordered).
Each time a clip is cut we dragged it onto the timeline and adjusted their
position so that they played consecutively. On Adobe Premier Pro, footage that
is on top another is played instead of the one below, by default. Therefore
when placing footage on the timeline it was necessary to place them correctly
so that the sequence was fluid an merged as one. It was possible to trim
footage on the timeline, in case you needed to adjust a clips length; when you
hovered with the cursor over the end of a clip, a red arrow appeared which you
could use to shorten the clip.
I had not used
Adobe Premier Pro before the lesson, and it was very interesting to be able to
learn how to use the software from the ground up. I learnt a lot of editing
terminology which I didn’t know before and how to organise my footage so that
it could be easy to find.
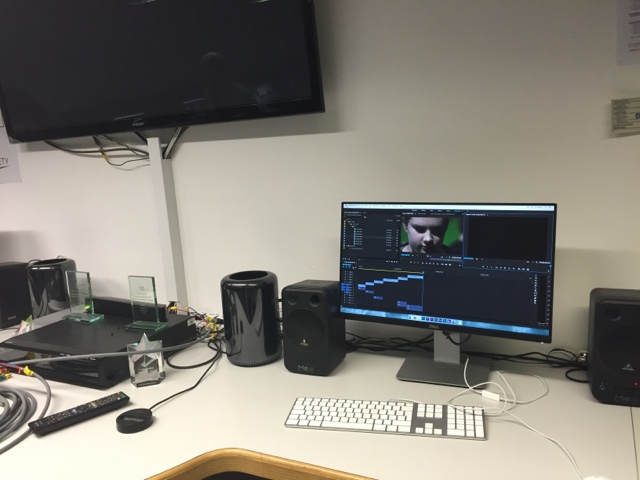
We used these Adobe Premier Pro on these Mac's to edit our footage
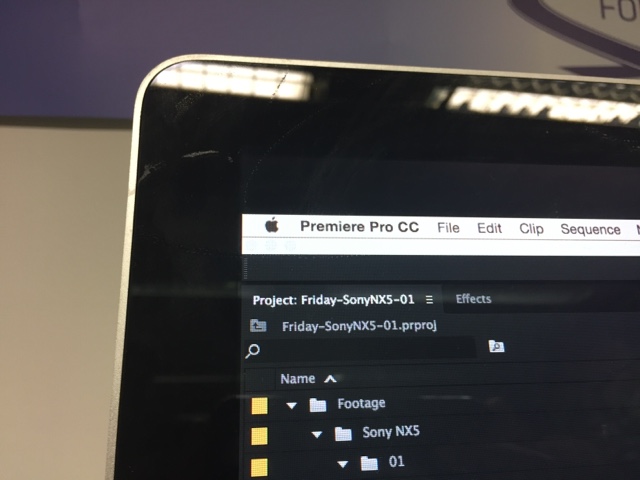
Footage are stored in folders known as bin (old editing terminology)
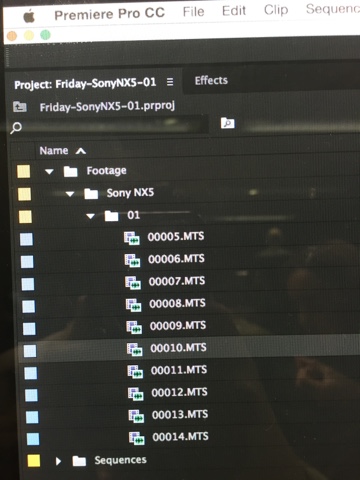
All the footage was marked in numerical order
After clicking on the film icon by the footage name, the clip appears in the centre of the screen, ready to be edited
To cut where you want the clip to start press 'I' to mark beginning
To cut where you want the clip to end press 'O' to mark beginning
The highlighted 'grey' bar at the bottom of the clip, Is the amount of the clip selected.
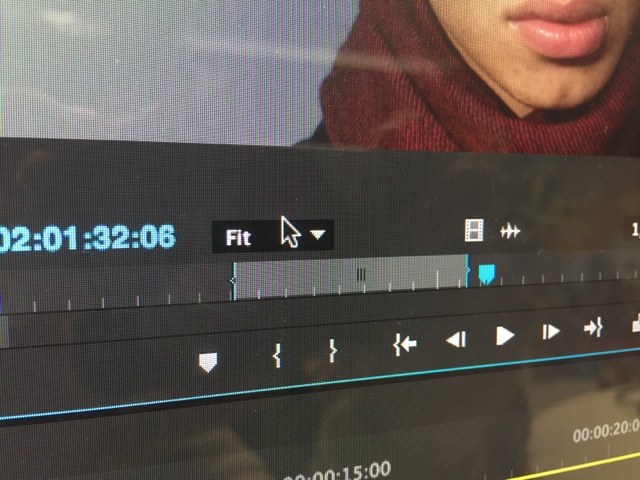
The frame in the centre of the screen, is then dragged into the timeline, which copies it there with the new adjusted duration of the clip
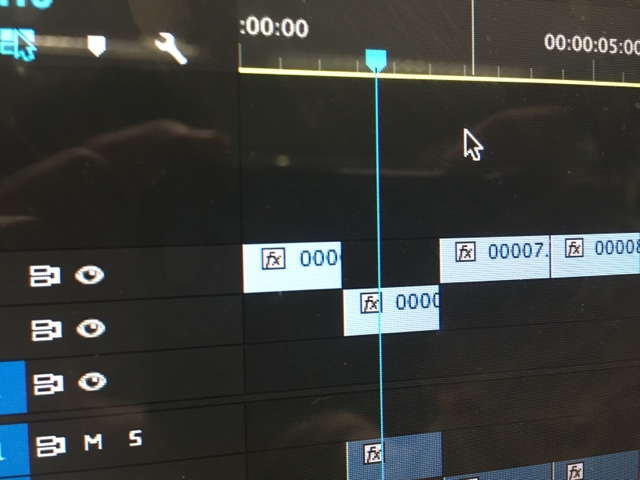
Close up of the timeline, blue line where you are (time) in the footage indicated


No comments:
Post a Comment