"The camera can capture my face, but until it captures my soul, you ain't got a movie"


Monday 19 October 2015

Prelim Task Part 2

Prelim Task Part 2
In collaboration with Daisy Doidge-Hill


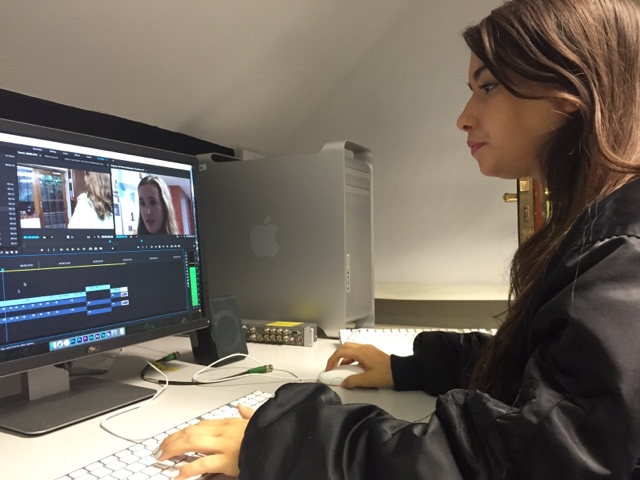
This is the Finished Video


This was a continuation on the first prelim task we did a week prior, which we filmed a sequence. In the second part we edited the footage we took. 
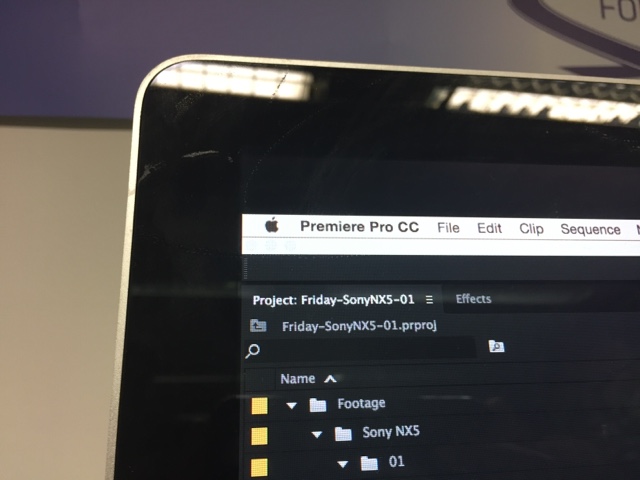
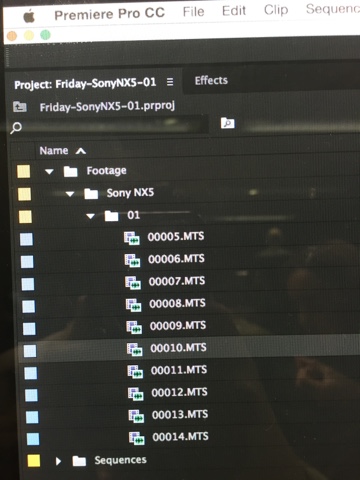


We had over 30 clips, shot with different camera angles so that it followed the storyboards. 


Some of the footage were did not fit in the sequence and others were not acceptable to put in, due to mistakes in the actor’s acting. We used the storyboards so that we could place the footage in the right order; and used dialogue cues to know where to cut and place the next clip.


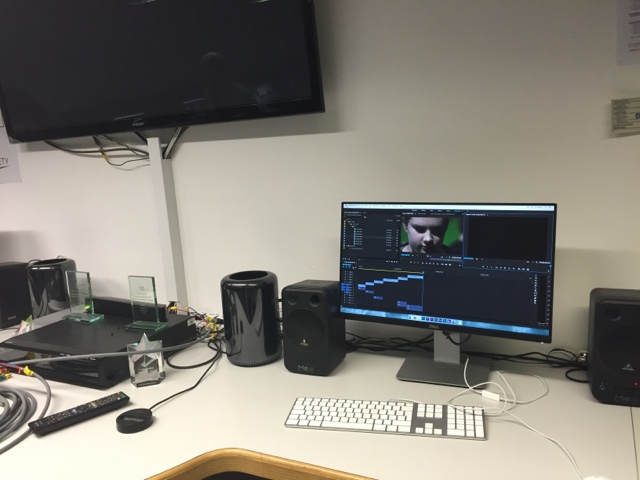
After cutting the specific parts in the footage, we dragged them in order of the storyboard, on to the timeline. We encountered a few problems when doing this; because there was a limited amount of footage for each shot in the storyboard. When filming we had some problems such as: actors getting lines wrong; actors breaking character; people from the outside interrupting the shot and especially mistakes with continuity.

One of these continuity mistakes was when my character walks in. I open the door and say “Do it come on!” ; when I enter it’s a long shot and then it cuts to a mid-shot and then an over-the-shoulder shot. As I’m speaking the door behind me is closing and making a creaky noise; however when it moves from a mid-shot to an  over-the-shoulder the door is still closing and does not synchronise with the door closing during the mid-shot. These were continuity mistakes that we did not think of when we were filming. If we had used more than one camera we could have filmed all three shots at once and the position and movement of the door would sync across all three shots.

Throughout the footages we found that there was a problem with continuity, especially when filming a scene over 30 times, without proper observation, there are many mistakes that can be made; this can completely ruin the continuity between shots.


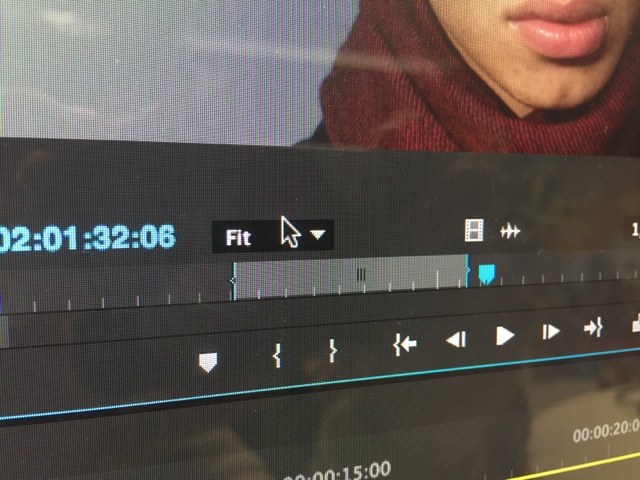
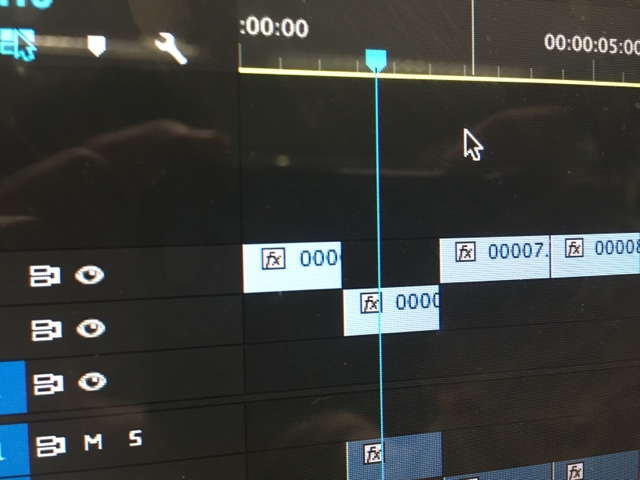
  As you can see only small seconds of footage were taken from each clip to fill the timeline.


When editing we had to match on action, and cut and join clips even during sentences, in order to achieve a smooth sequence. 


After having filmed and edited the prelim task, I realised the importance of continuity and how small mistakes can affect the tension and tone of the scene. I also discovered that when editing its essential to cut on action and cut and join clips at the right moment, in order to maintain tension and create a fluid motion through each shot.


Wednesday 14 October 2015

Sound within Thrillers: Analysis of 'The Silence of the Lambs'


The Silence of the Lambs

In the following essay I will explore how sound is used to affect the audience. 

The sequence starts with the main protagonist (Jodie Foster)  waiting outside a door, before she breaks through it. Whilst this happens there is diegetic music playing, the song playing is ‘Real Men’ by the Savage Republic. The music is asynchronous with the action because it is has a faster pace than the action occurring on-screen; additionally the song contains an upbeat rhythm which contrasts the slow and dark nature of the scene. Furthermore, it can be argued whether the music playing is parallel or contrapuntal; the music is of a rock/punk genre the punk genre connotes elements of danger, aggression and darkness, which could reflect the films thriller genre. However, the fast drumbeats and electric guitar heard conjures a sense of excitement and liveliness which juxtapose the tension in the scene.

When she enters the room she finds a rotting corpse in a bathtub, at this point non-diegetic high pitched chimes can be heard. This heightens the eerie atmosphere because it is contrapuntal and we associate chimes and delicate instruments with children’s nursery rhymes. It also is an effective way of marking the moment and indicate to the audience that they have discovered something.
After discovering the body the lights in the room suddenly turn off and the diegetic rock/punk music playing stops as well. The room is pitch black and there is no sound. It is effective not to use sound at this moment because the audience have no visual or aural awareness of what is happening or going to happen in the scene, which builds on the tension. 


All of a sudden, we hear the high pitched sound of the night-vision goggles turning on, the sound itself is man-made and unnatural thus emphasising the creepy atmosphere of the scene. At this point we hear the ambient sound of water dripping and the main protagonists heavy breathing.


By bringing these two diegetic elements together it places the viewer in a position of isolation and fear. While the main character walks around and makes her way through the room her breathing becomes heavier and faster; this synchronises with the growing tension in the scene. Even though she is walking at the same speed her quicker breaths increases the pace of the scene, and enhances the suspense. 


At 1:21, a non-diegetic soundtrack fades in, it becomes louder as the killer gets closer to the protagonist. The soundtrack is ‘Magic Flute’ by Mozart, the use of orchestral/opera music is effective in creating a dramatic tone to the scene. The low bass notes create a macabre feeling, especially as the killer move closer to the main character. The soundtrack grows more intense when the killer reaches with his hand out to the protagonists. The slow pace of the song is synchronous and parallel to the action of the scene because the killers movements are quite slow and the scene is emotionally intense and dark, literally and metaphorically. When the killer gets much closer, higher pitched string instruments begin to play which make the scenes ambience stressful; it also mirrors the nerve-racking moments before the impending encounter, between the protagonist and antagonist.

At 1:46, the killer pulls out a gun behind the main character, the soundtrack remains constant and the instruments keep on the same high notes. This amplifies and sustains the tension. Consequently, the killer goes on to cock the revolver, the sound of the guns hammer cocking , at 1:51, is extremely loud and slowed down. This maintains the tension and builds the climax because the audience is forced to slow down and acknowledge the pivotal moment; it lets the moment sink in.


The protagonist, turns around and fires her gun repeatedly, the rounds are fired at extremely fast rates which contrast the slow movement of the entire scene; this disorients the audience because of the sudden sound effects of gunshots.


Whilst firing the gun the protagonist shoots a window, the diegetic sound of glass breaking contributes to the chaotic intensity of the moment. 


The protagonist falls on the ground, and tries to reload her gun, whilst doing so we can hear the clanking sound of bullets dropping on the floor. The diegetic sound of the bullets hitting the floor, give insight into the characters emotional state, she has dropped the bullets because she is shocked and afraid. 


Diegetic and non-diegetic sound in the sequence was effectively used in creating an emotional connection between the audience and characters. The soundtracks used helped in showing and emphasising the characters mental and emotional state. The sounds used in the sequence helped establishing the genre of the clip as a thriller.


Click below to watch the clip


Tuesday 13 October 2015

Prelim Task Part 1


In first part of our prelium task we were given a story board, which consisted of 12 frames each with different camera angles. In my group we began by practicing the scenes, and the positioning of the camera for every shot. We then placed markers on the floor so we knew where the camera would be positioned at every frame. 


We began by filming the entire scene in a wide shot, this made is possible to film all the frames in the storyboard which are wide shots once. We then moved to a close up of my face and shot the entire scene in that camera angle. We continued to this for the remaining camera angles such as: over the shoulder, close up, wide shot and mid shot. 


After having filmed the scene in every camera angle required, we became more creative and experimented with the camera angles. We then filmed the scene with the camera focused on pencil holder whilst all the action happened out of focus in the background. This was interesting because the actors were not the focus in the scene; I think this added a dynamic angle to the scene. Another shot we took was of the actors feet, I think this shot could be used for the entrance and exit of the actor. 


Monday 5 October 2015

Editing Workshop

Editing Lesson:

During our Media Lesson we focused on editing the footage we took on our second camera lesson, and creating an entire sequence from those shots.
Rules:
·        The number one rule when editing is to constantly save.
·        Make duplicates of a shot so that you always have a back-up , in case you make an error or delete footage.
·        It’s best to cut when object is moving ,this makes the sequence uniform and more fluid.
·        Label all your footage so that it is easier to find later on, it also makes it easier to find shots of certain camera angles, such as close ups and long shots, if you name them.
What we did:
We had all of our footage uploaded onto Adobe Premier Pro. We were first instructed to look at our footage, this helped in reminding us off what footage we took and also to give some initial ideas of how to edit the footage. We then were showed how to select a video so that we can edit it (clicking the filmstrip icon, next to the footage name). After selecting the footage, we needed to cut it down to the specific parts we wanted . To do so you play the clip, then press the spacebar where you want to begin and press ‘I’ on the keyboard, this marks where your clip will start. To end the clip, you let it play until you want to stop the footage, at that point you press the spacebar to stop it and then ‘O’ on the keyboard, this is where the clip will now finish. To remember whether to press ‘I’ or ‘O’ I simply remember that ‘I’ stands for ‘In’ and ‘O’ stands for ‘Out’.

After trimming the clip, we dragged it onto the timeline (The timeline is a large rectangular space at the bottom of the screen where the footage is placed and ordered). Each time a clip is cut we dragged it onto the timeline and adjusted their position so that they played consecutively. On Adobe Premier Pro, footage that is on top another is played instead of the one below, by default. Therefore when placing footage on the timeline it was necessary to place them correctly so that the sequence was fluid an merged as one. It was possible to trim footage on the timeline, in case you needed to adjust a clips length; when you hovered with the cursor over the end of a clip, a red arrow appeared which you could use to shorten the clip.

I had not used Adobe Premier Pro before the lesson, and it was very interesting to be able to learn how to use the software from the ground up. I learnt a lot of editing terminology which I didn’t know before and how to organise my footage so that it could be easy to find.

We used these Adobe Premier Pro on these Mac's to edit our footage


Footage are stored in folders known as bin (old editing terminology)


All the footage was marked in numerical order


After clicking on the film icon by the footage name, the clip appears in the centre of the screen, ready to be edited


To cut where you want the clip to start press 'I' to mark beginning 


To cut where you want the clip to end press 'O' to mark beginning 


The highlighted 'grey' bar at the bottom of the clip, Is the amount of the clip selected.


The frame in the centre of the screen, is then dragged into the timeline, which copies it there with the new adjusted duration of the clip 


Close up of the timeline, blue line where you are (time) in the footage indicated 


First time I'm on TV!